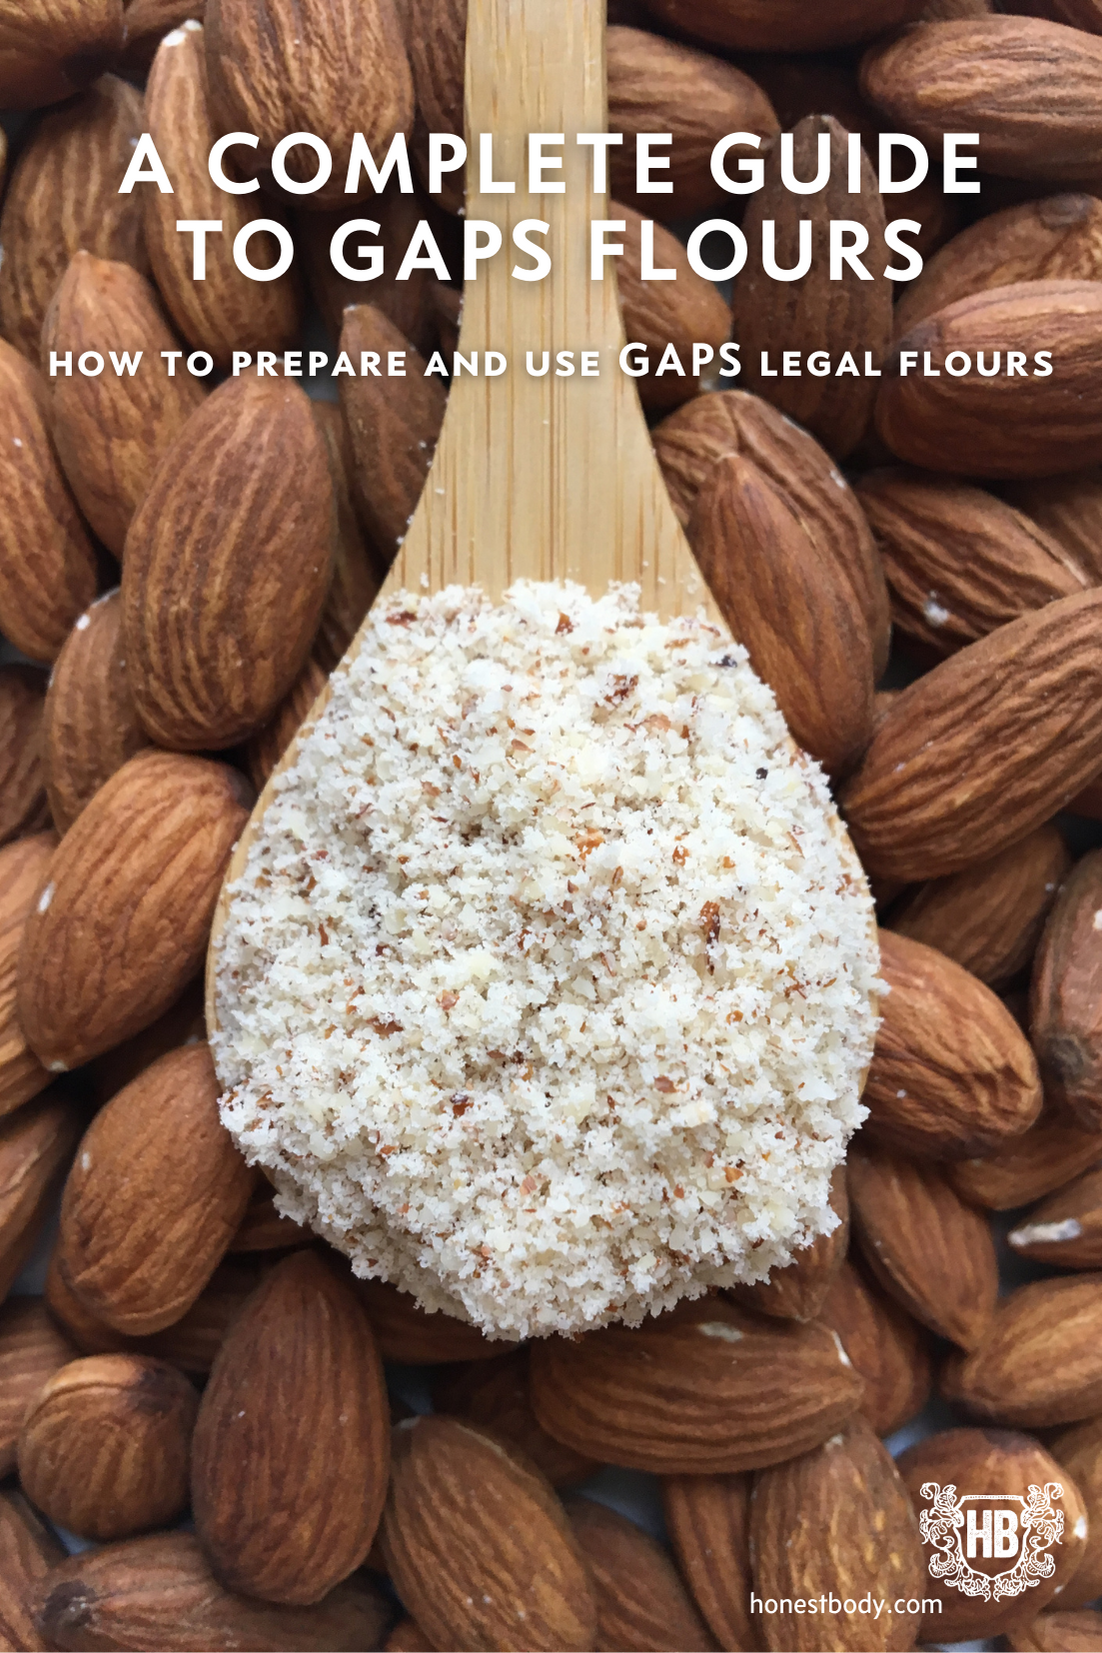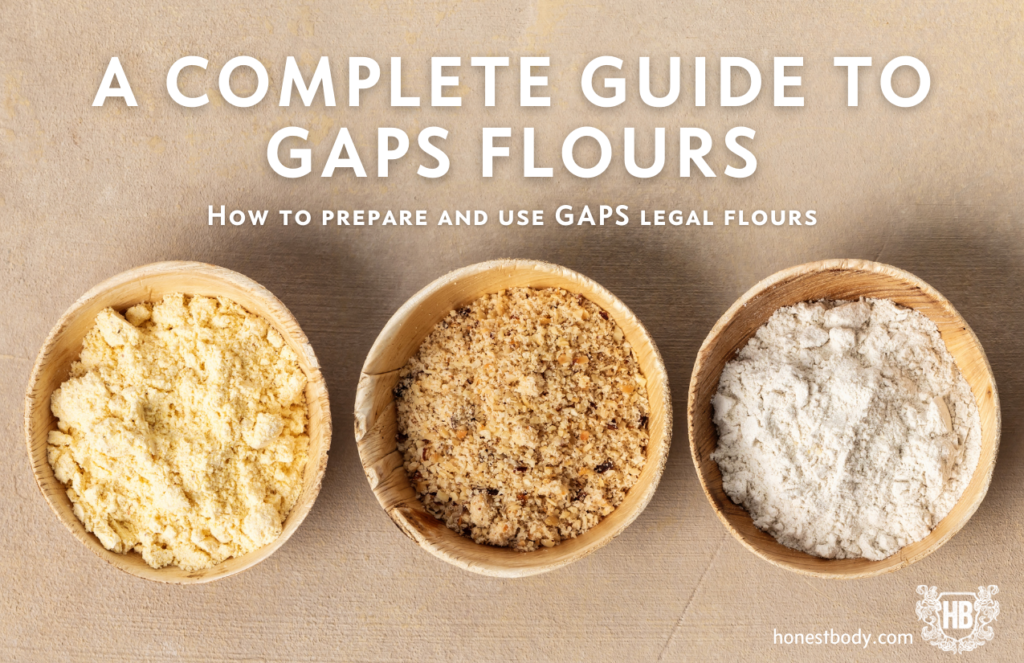
The Complete Guide to GAPS Flours
There is such a huge learning curve with all things GAPS. That’s why our mission is to make it as simple as possible for you to be successful on your GAPS journey! We’re always thinking about what we would have wanted to know when we started on GAPS, or taking feedback from clients about what would be useful for them. Here we give you the complete guide to GAPS flours- what’s legal and what’s not, how to prepare them, and how to use them.
Another reference on all things GAPS that we highly recommend is Monica Corrado’s book, The Complete Cooking Techniques for the GAPS Diet, which includes all the basics of GAPS cooking. You can also order just Part IV: Nuts, Seeds, Beans, and Grains (Grains are not introduced until one has been on GAPS and done enough healing to transition to a traditional, whole foods diet).
Why Some Flours are Legal, While Others Are Not
The GAPS diet is based on the Specific Carbohydrate Diet (SCD). It removes the majority of complex carbohydrates (starches, di- and poly-saccherides) from the menu. These types of carbs feed and therefore contribute to an overgrowth of pathogenic microbes in the gut. While there are beneficial microbes which also feed on complex carbs, even those can contribute to overgrowth issues such as SIBO. Removing these foods for a time allows the gut biome to re-balance. Beneficial microbes can once again predominate, while problematic ones such as yeast will reduce to the point where they no longer pose a problem.
Removing starch and di-saccherides is why grains, potatoes, lactose, and even maple syrup are not GAPS legal, while honey, nuts, seeds, and some legumes with lower starch content are. This is also why most “gluten-free” flours available are not GAPS-legal. Most of them contain grains and/or starches such as rice, arrowroot, cassava, and tapioca.
As always, every body is different and not everyone tolerates every food that is allowed on GAPS. If you have multiple food sensitivities it can be very helpful to work with a GAPS Practitioner to do some targeted testing to further identify foods to avoid for a time and reduce inflammation while your gut heals. With nuts, seeds and legumes, proper preparation is key. Often, people find that they do tolerate nuts and legumes that had once been a problem when they learn how to prepare them to make them more digestible.
The Problem With Using Seeds as Food
Many nuts, seeds, and legumes contain lots of fiber. Plant foods generally require microbial action to properly break them down and use them, not just stomach acid (both of which the GAPS person is usually short on). Legumes contain polysaccherides and starch. All seed-type foods contain “anti-nutrients” such as lectins, salycilic acid, and phytic acid. These substances can be difficult to digest and they can even act as toxins. Seed-type foods are difficult even for a healthy digestive system. That’s why most traditional cultures prepared these foods before eating them by soaking, sprouting, or fermenting them. For a compromised gut with an imbalanced microbiome, there is insufficient ability to break down plant foods into beneficial substances for the human body. Many GAPS people also have an inflamed and damaged gut lining which is irritated by fiber.
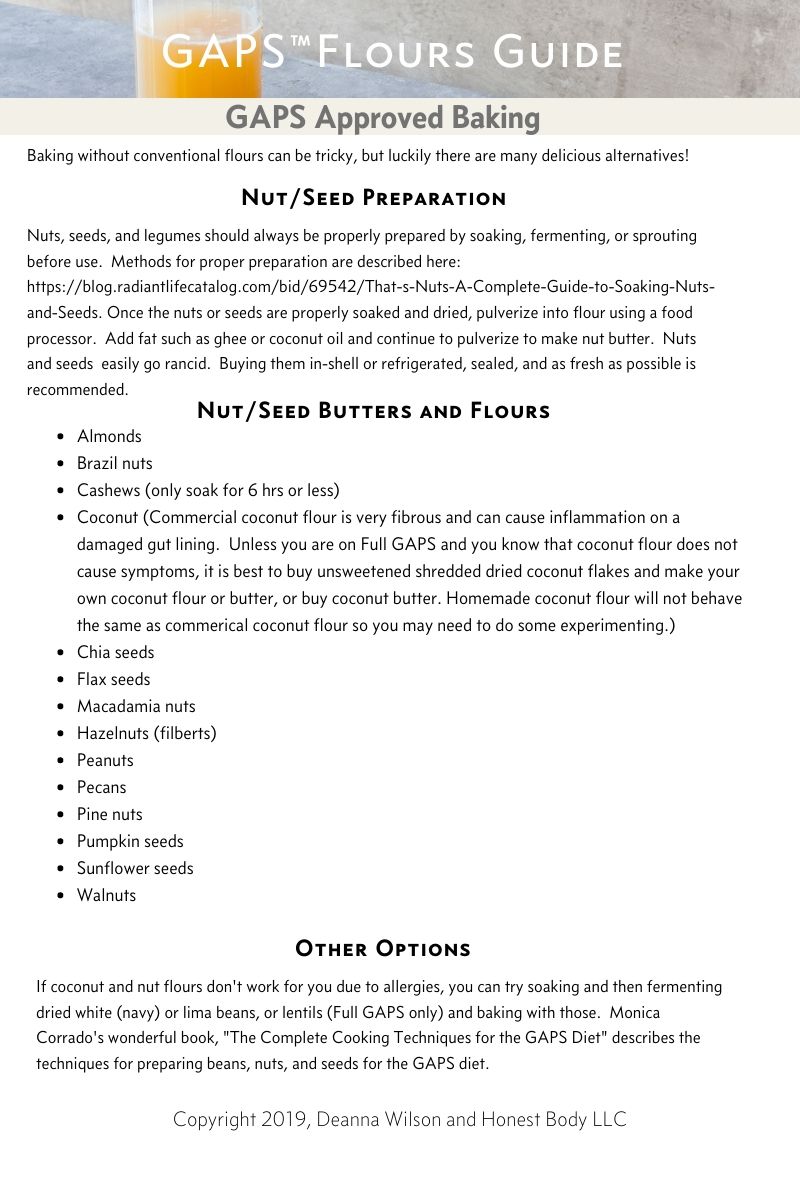
Nuts, seeds, and legumes should be soaked, sprouted, or fermented before cooking. These preparation methods reduce or pre-digest those difficult substances, making them much easier on the human gut and increasing absorption of the available nutrients. Before making flour from nuts, seeds, or legumes on GAPS, they should be prepared properly to make them more digestible.
How to Prepare Nuts and Seeds
When it comes to preparing nuts, seeds, and legumes for consumption there are 3 options: soak, sprout, ferment. In this post we will cover the basic method that most people use to make flours on GAPS- soaking and dehydrating nuts and seeds for flour. Monica’s book has all the details on sprouting and fermenting nuts and seeds, as well as how to make bread from fermented white navy beans in case no nuts and seeds are tolerated.
Soak
Soaking is the simplest method and the least time consuming. Simply soak in water for 8-24 hours. For nuts and seeds, add unrefined sea salt (do not add salt for beans, peas, or lentils as it will inhibit softening during cooking).
Since Radiant Life did such a great job putting together this guide to soaking and dehydrating nuts for soak times, how much salt to add, etc., we won’t repeat that here. You can save or print the handy image they have in the post.
Dehydrate
After soaking the nuts, dehydrate them or put them on a tray in the oven on the lowest temp. Ideally, to preserve the enzymes that would be less than 150 degrees F.
Note: You can grind them up in the food processor while wet and use them- they will still be more digestible for you. However, I don’t recommend trying to bake with this mixture, since the paste will not be very easy to use or anything like normal flour in baked goods. You will have much more moisture in your batter (usually a problem with grain-free baking).
Store
Drying the nuts and seeds out completely ensures that they will keep for awhile without mold or spoilage. Place them in a sealed container in the refrigerator for the longest storage time and to keep the fragile fats in nuts and seeds from becoming rancid.
Make Flour or Butter
To make nut/seed flour or butter, use a food processor to pulverize the nuts into a fine powder. Follow the manufacturer’s directions and don’t overfill the food processor as this may cause fragments of uneven sizes. Once the nuts or seeds are ground to a fine consistency (think of the consistency of store bought almond flour), you can use the flour for baking. If you are making a fancy cake or your food processor doesn’t work well, you can use a mesh sieve to strain out the coarse grains.
To make nut butter, keep pulverizing until the mixture starts to stick together a bit. Some nuts and seeds have more oil than others. Add coconut oil or another fat (if using olive or avocado oil it’s best not to use the butter for cooking) until the mixture is the way you like your nut butters to be. Add salt, honey, or cinnamon to your liking.
To make coconut butter, use unsweetened, dehydrated coconut flakes and pulverize until you achieve a butter-like consistency. This takes a while in some food processors.
Making coconut flour is a bit more of an involved process which we hope to cover in a future GAPS Basics post.
What About Store-Bought Nut/Seed Flours and Butters? Are They OK on GAPS?
Ideally, it is not recommended to use store-bought nut/seed flours and butters, even those that only contain GAPS-legal ingredients. This is because most commercial options out there that have not been properly soaked, sprouted, or fermented. So they contain much more of the problematic substances we talked about. It is also because many nuts and seeds and their flour/butter counterparts have not been stored properly in commercial settings so they contain rancid fats.
I believe that it makes a difference because the last time I did GAPS intro with my son, he did fine with my homemade almond butter or almond meal baked goods. But, when I tried introducing store-bought almond flour, he had a reaction.
In practice, because nuts and seeds require a lot of planning ahead (though not much active time) to prepare properly, a lot of GAPS people do utilize commercial flours (mostly almond and coconut), and nut butters. We have several recipes on this blog which call for commercial coconut flour. Because of its high fiber content, it can irritate and inflamed gut. Many people tolerate it will once they are on full GAPS and all digestive symptoms have cleared up.
I recommend starting with properly prepared homemade nut/seed products at the beginning of GAPS, if there are currently digestive symptoms, suspected nut intolerance, or if you are doing the Introduction diet. Once some healing has occurred and you have been doing well on Full GAPS for a while, you can try introducing commercial products and see how they affect you.
There are also some commercially available soaked or sprouted nut/seed products out there, you might try these first.
How to Bake with Homemade Nut/Seed Flours
As you have probably noticed, nut and seed flours do not behave the same way that traditional wheat flour does. Heck, one nut flour such as almond flour can produce very different results from another, higher fat nut flour such as walnut. So GAPS baking can take a lot of trial and error. Here are some tips:
- Homemade flours behave differently than store-bought ones. This is especially true for coconut flour, which, when store-bought, absorbs much more moisture than its homemade counterpart. If you substitute homemade coconut flour in a recipe that was developed using a store-bought flour, you will likely end up with too much moisture and a batter that just never fully cooks. So make sure that the recipe you are trying to use is using the same type of flour you plan to use.
- Generally, nut flour batters will be thicker than traditional flour batters. A properly made nut flour batter usually will take some scraping and smoothing since they are not liquid enough to pour.
- The opposite is true for store-bought coconut flour. The batters often start out very runny but bake up beautifully, since commercial coconut flour absorbs a lot of moisture.
- Beware when using coconut flour and make sure you are not adding any excess liquid or flour to the batter. Most good coconut flour recipes only use eggs (lots of eggs) and shortening with perhaps a bit of honey for moisture and a smaller than expected amount of commercial coconut flour. Adding too much liquid will create a batter that never really cooks, and adding too much coconut flour makes a dry product.
- Store-bought almond flour can tolerate a bit of liquid. The addition of a little kefir or yogurt in the batter is delicious and still bakes beautifully.
And A BONUS!
We made this handy-dandy image that you can download and print, which has a summary of the info in this post.
There it is- the Complete Guide to GAPS Flours!
Have some GAPS baking stories? Have more questions? Let us know what you think in the comments!