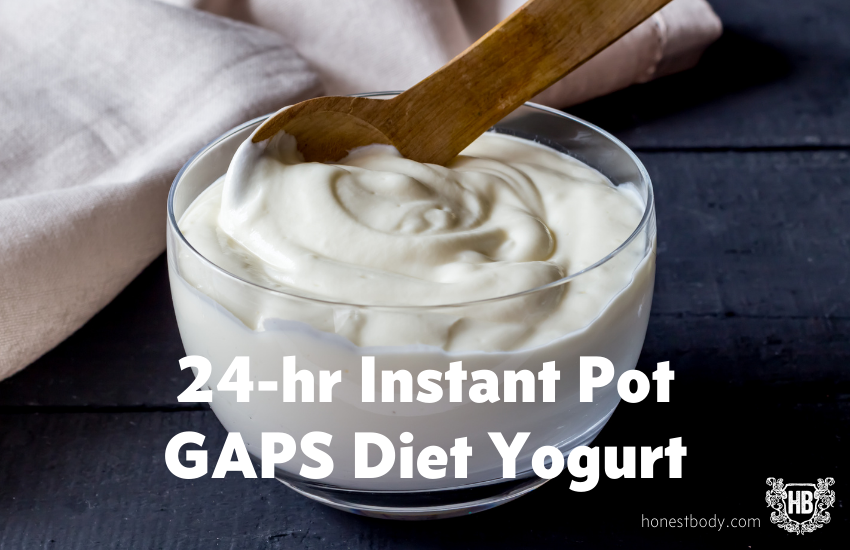
Instant Pot GAPS Diet Yogurt
I’ve found the easiest way to make GAPS Yogurt for the required 24-hours. It’s Instant Pot GAPS Diet yogurt.
On the GAPS Introduction Diet, dairy is introduced quite soon (whey in Stage 2, followed by ghee, raw cultured butter, 24-hour yogurt or sour cream, followed by 24-hour kefir) at the same time that one is healing the lining of the gastrointestinal tract…which is the root cause of so many food sensitivities and allergies. See this article for more on introducing dairy on GAPS.
All dairy is cultured for 24+ hours on the GAPS Diet because this allows for beneficial bacteria or yeasts to consume the lactose that is in the milk and make it more digestible.
If you’ve ever wondered how you can find raw milk where you are, here is a place to start – https://www.realmilk.com/real-milk-finder/
What you’ll need for Instant Pot GAPS Diet Yogurt
- Grassfed raw milk (or the highest quality pasteurized you can find, NOT Ultra-pasteurized which is completely dead & doesn’t belong in the human body)
- Yogurt starter (my favorite is GI Pro Health Yogurt Starter)
- Instant Pot w/ a yogurt setting
- Containers for refrigerating your yogurt
You can use good quality commercial yogurt for your starter, but I prefer the consistency of a yogurt starter.
The GI Pro Health yogurt starter only requires 1/8 teaspoon of starter for 2 quarts of milk, so it lasts a long time. This starter can also be used with non dairy milks such as nuts or coconut milk.
Print
Instant Pot GAPS Diet Yogurt
- Author: Melanie
- Cook Time: 24 hours
- Total Time: 24 hours
Description
Lactose free 24 hour Instant Pot GAPS Diet Yogurt
Ingredients
- 2 quarts grass-fed raw milk (preferably from heritage breed cows)
- 1/8 teaspoon GI ProHealth Yogurt Starter
Instructions
- Pour milk into an Instant Pot with a “Yogurt” setting.
- Place the lid on the Instant Pot.
- Push the Yogurt button.
- Push the Adjust button (boil should then show up on the screen)
- The Instant Pot will then bring the milk to near boiling, which is what is needed for consistent results with a starter.
- When milk has finished heating, take the Instant Pot insert out & allow the milk to cool down to 110 degrees Fahrenheit.
- When milk has cooled to 110, add the yogurt starter & mix together.
- Place Pot insert back into the Instant Pot.
- Push the Yogurt button again.
- Push the + button to 24:00 for 24 hours of warming & culturing.
- When it’s finished, ladle into containers and refrigerate!


28 thoughts on “Instant Pot GAPS Diet Yogurt”
Love the instructions and pictures!
Can we use the same instructions for non-milk alternatives?
Hello Nalisa,
I have not personally used the Instant Pot for non-dairy yogurt, but coconut yogurt is next on the list!
The GI Pro Health company says that you will likely need more starter for non-dairy alternatives, for example, they recommend a 1/2 teaspoon or more of yogurt starter per quart of nut milk. I would suggest trying the same increased amount of starter for coconut milk.
Warmly,
Melanie
Melanie, thank you posting this recipe. I love my instant pot and am hoping to make a dairy free yogurt in my instant pot. Do you have a recipe for coconut milk yogurt? I have casein allergies, oxalates and histamine issues due to Mast Cell. I need to have a low Fodmap diet also. I cannot have any cow dairy foods and even sheep and goat products don’t agree with me. Most probiotics are causing issues for me also. Will a dairy free milk recipe work in the instant pot?
Thank you
Hi Celeste,
I’ll paste my reply to Nalisa as your questions are very similar 🙂
“I have not personally used the Instant Pot for non-dairy yogurt, but coconut yogurt is next on the list!
The GI Pro Health company says that you will likely need more starter for non-dairy alternatives, for example, they recommend a 1/2 teaspoon or more of yogurt starter per quart of nut milk. I would suggest trying the same increased amount of starter for coconut milk.”
Warmly,
Melanie
Hello Melanie,
I am interested in trying the instapot recipe. I have been using a crockpot for my raw milk yogurt but have been having problems with producing a consistent product. I have read that if you heat raw milk above 120 degrees then all the benefits of raw milk will be killed. Is that correct? I was surprised that you took the milk to almost boiling. Thank you for your help.
Hi Tara,
Thanks for writing! It’s that very consistency that is the reason suggested for heating the raw milk. Heating with the Instant Pot is far less damaging than traditional pasteurization and is what yogurt makers suggest for inhibiting the competition of microbes as the yogurt starter bacteria start their work on the milk.
That said, I am going to experiment with lower and lower temperatures for making my yogurt.
Melanie
Thank you for the recipe! Are instant pot allowed on gaps? I get conflicting info on whether or not I can use it. I would love the ease of using the instant pot! And the pace of mind that the temp is being held at 110. I don’t feel reassured that’s the case by simply putting it in the oven with the light on.
Hello Katrina!
There IS conflicting info on Instant Pots. 🙂
From the research I did myself, I feel confident in using it for my family, and recommending it to others. For the yogurt making, you are not using the High-pressure feature though, just it’s heating & warming elements.
Kindly,
Melanie
Dear Dear One,
I would love to know of a source for raw milk in the Middlebury area.
Thank you so much for your kind help and time with this.
You are The Best! xo
Hello Mary Ann,
One of the best options in the Middlebury area would be Doolittle Farms 🙂
Melanie
I almost always have a super lumpy and runny texture when I’m done with the yogurt. How can I make it more smooth?
Pingback: What Can I Eat On GAPS Intro Diet - Stage 4? - Honest Body
Pingback: What Can I Eat On GAPS Intro Diet - Stage 3? - Honest Body
Pingback: What Can I Eat On GAPS Intro Diet - Stage 6? - Honest Body
Pingback: What Can I Eat on Full GAPS? - Honest Body
Pingback: What Can I Eat On GAPS Intro Diet - Stage 5? - Honest Body
Pingback: Mediterranean Meatballs - Honest Body
Hello! Is it possible to make this recipe using store bought yogurt instead of the starter?
Hi Juliana,
Thanks for your question! I have used this method with store-bought yogurt and it works. Make sure the store-bought stuff has live active cultures and is plain cultured milk with no additives. I use about 1/4 to 1/3 cup of the already made yogurt per quart of milk. Make sure to add the yogurt in after the milk has cooled from the “boil” step (I have accidentally mixed all in then realized I didn’t heat the milk yet…)! The yogurt that results will not usually be a strong enough starter to start several subsequent batches, you may be able to use it a couple of times but usually you have to buy more yogurt as a starter for the next time.
Happy fermenting!
Deanna
Honest Body Assistant and Certified GAPS Coach
Pingback: GAPS Easter Round Up - Honest Body
Pingback: What Can I Eat On GAPS Intro Diet - Stage 1 - Honest Body
Hello,
Do you ever use glass jars inside the instant pot instead of just pouring the milk into the insert?
Thanks
Hi Christine,
Yes, I have! It works well and makes for easy clean up! The only downside is that you can’t make as much yogurt per batch (and we go through a LOT of yogurt…)
Here’s what I do: Put the trivet that comes with the instant pot in the bottom of the pot. Add a bit of water until it covers the bottom of the pot about 1/2 inch deep. Place your clean mason jars on the trivet (make sure the instant pot lid will still close properly with the jars inside). Then pour your milk into the jars up to the neck (leave room to mix your starter in).
Because the milk isn’t directly in the pot over the heat, it may not boil using the yogurt boil function unless you run it a couple of times. So I have simply used the “saute” function with the top on the instant pot and the metal canning lids placed loosely over the jars to keep condensed water from dripping into your milk. Not a big deal but it makes the yogurt a bit more runny. Check the milk and stop the saute function when the milk reached almost 180 degrees F, or is steaming. It doesn’t have to be exact (in fact, you can make yogurt by just heating raw milk to 110 degrees), but heating it does make sure that the culture you are using will be dominant over other microbes and makes a thicker yogurt.
Let the milk cool to 110 degrees F (this happens faster if you remove the jars and cool on the counter). Remove the “skin” from the top of the jars. Divide your starter by the volume of the jars, and follow the rest of the directions from there!
Once your yogurt is done, you have beautiful clean jars of cream top yogurt that you can put directly into your fridge. Instant pot clean up is a breeze too! Enjoy.
Warmly,
Deanna
Hi! I don’t have an “adjust” button on my IP, any suggestions? I tried pressing my keep warm button but “boil” did not come up.
Thank you!
Hi Ashley,
You might be able to use “saute” with the lid open and just bring it to a boil that way.
Let us know how it goes!
Deanna
Certified GAPS Coach and Honest Body Assistant
Pingback: 24 Hour GAPS Diet Sour Cream - Honest Body
How is this yogurt recipe lactose free? There is no discernible method making it lactose free.
Hi Roberta,
Great question! When milk is fermented with the correct amount of starter culture for 24 hours or more, all appreciable lactose is converted by the lactobacilli into lactic acid, which is very soothing for the gut lining. The same is true for milk kefir, found here: https://honestbody.com/24-hour-dairy-kefir/. For even less lactose, one can ferment cream for 24-hours, here is the recipe: https://honestbody.com/24-hour-gaps-diet-sour-cream/. Very sensitive individuals will need to follow the Dairy Introduction Protocol- you can find that information here: https://honestbody.com/how-to-introduce-dairy-on-gaps/.
We’d love to hear how it goes!
Deanna
Certified GAPS Coach and HB Assistant